まとまった費用がかかる
結婚式は人生でも特別なイベントの一つですが、その準備には多くの費用がかかります。招待客の人数や会場の規模、料理の内容などによって、費用は大きく変動します。特に、こだわりのあるカスタマイズやエレガン…

結婚式を挙げることには、さまざまなメリットがあります。小さいころから結婚式を楽しみにしていた人も多いことでしょう。そこでここでは、結婚式を挙げるからこそ得られるメリットを紹介しています。式をしようか迷っている人は、ぜひチェックしてみてください。
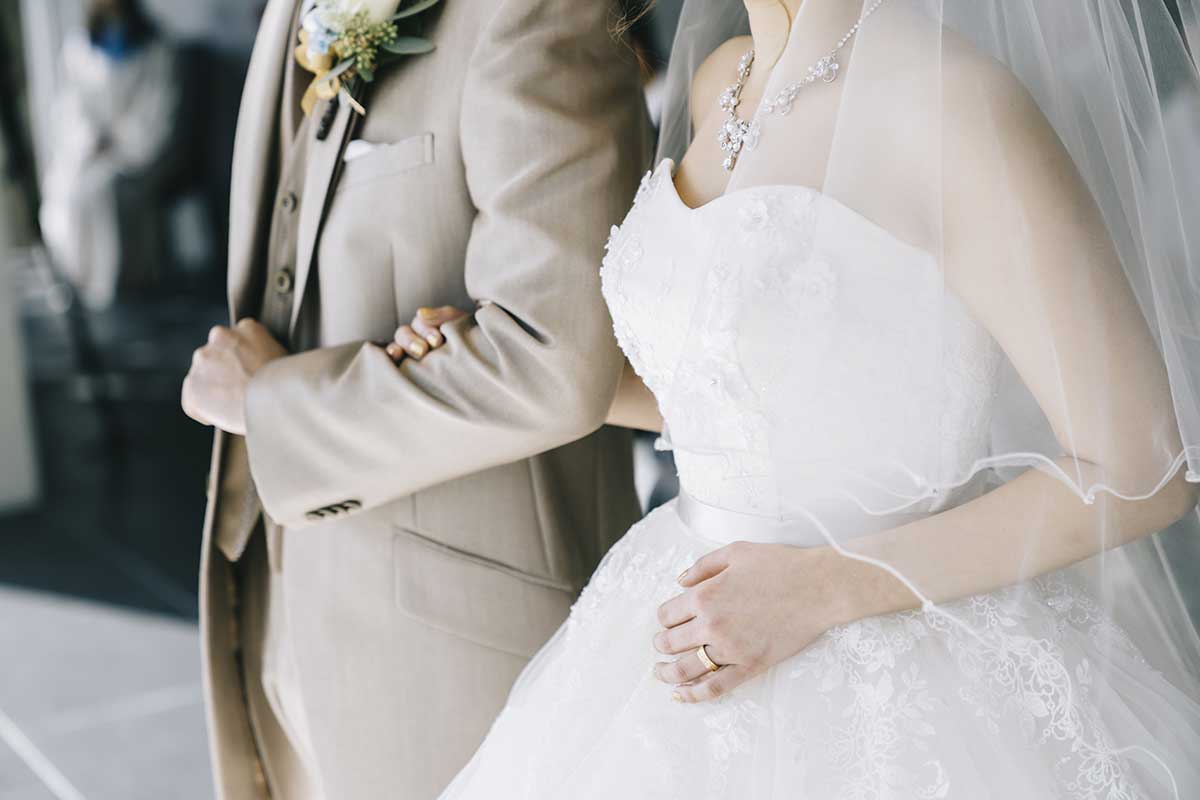
結婚式を挙げるメリットは様々ですが、その一つに「結婚したという実感を得ることができる」というものがあります。一昔前と異なり、結婚する前に同棲するカップルが増えてきました。正式に結婚する前にお互い気…
結婚するカップルのうち、結婚式を挙げる人は6~7割と言われています。結婚式を挙げないカップルの理由としては、費用を生活資金に回す、親族の問題などがあるようです。結婚後のアンケート調査によると、結婚…
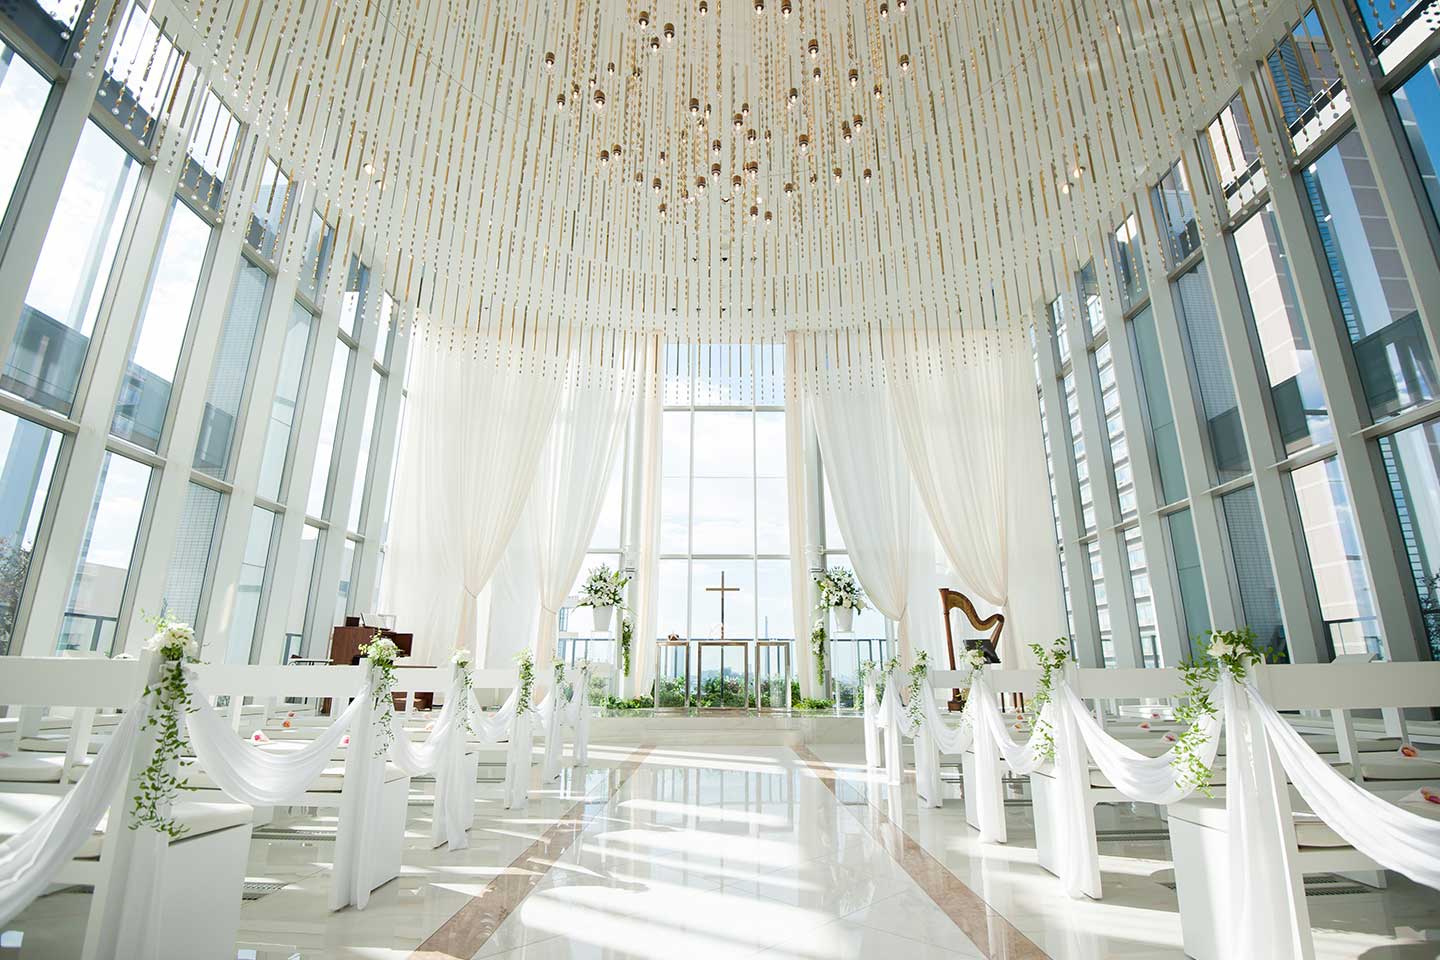
結婚式というのは、神前や仏前、人前で結婚を誓う儀式のことをいいます。制度としての結婚はすでに奈良時代からあり、江戸時代には家と家との結びつきを重視した関係づくりのために、結納などの婚礼儀式も誕生し…

結婚式を挙げることにはさまざまな魅力があるものの、デメリットがないわけではありません。結婚式を挙げたことを後悔している人がいるのも事実です。そこでここからは、事前に知っておくべき結婚式のデメリットを紹介します。

結婚式は人生でも特別なイベントの一つですが、その準備には多くの費用がかかります。招待客の人数や会場の規模、料理の内容などによって、費用は大きく変動します。特に、こだわりのあるカスタマイズやエレガン…
結婚式を挙げるためには、まず会場を決めなくてはなりません。会場が見つかったら、担当のプランナーとどのような式にするのかを決めたり、招待状の作成、引き出物の準備、ゲストへの連絡など、やるべきことがた…

結婚式の主役は何といっても新郎新婦です。結婚式に出席するゲストは、新郎新婦の晴れの日のお祝いをするために会場まで足を運びます。ゲストは挙式でも披露宴でも、新郎新婦の一挙一動に注目するでしょう。しか…